Demo
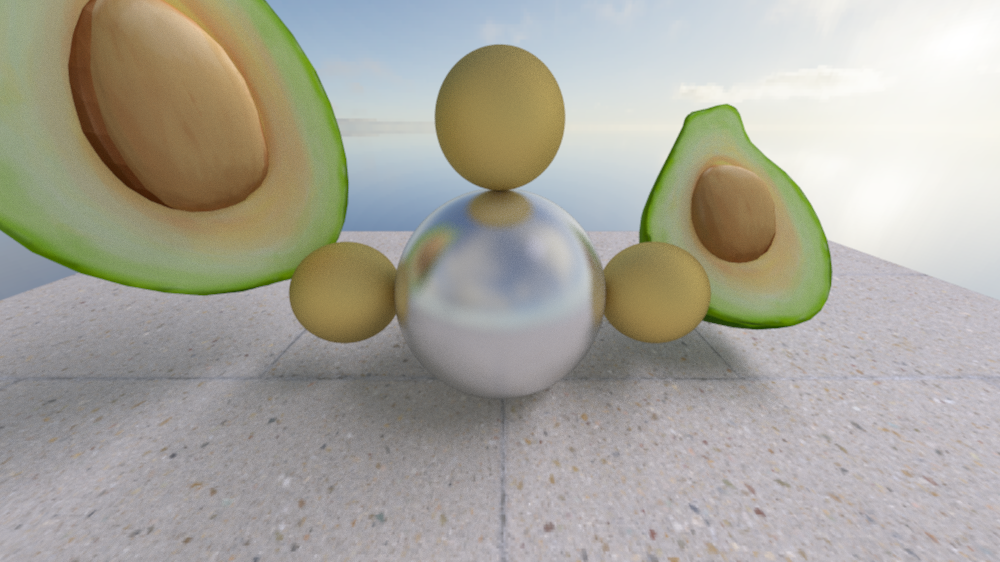
This is the scene you get when you get primitives working, and mesh rendering working, but with only one 3D object.
Introduction
This is a post about my ray and path tracer called Tracer. I enjoyed playing Overwatch when that came out (almost 10 years ago, wow), and was happy to find a relation.
I’ll briefly talk about ray and path tracing, and some specific changes I’ve made. This isn’t a post about learning ray or path tracing. If you are interested in learning about this topic, I’ll point you to Ray Tracing In One Weekend1.
Ray Tracing
I first tackled ray tracing while learning computer graphics on my own during the pandemic. My wife got me a Humble Bundle containing books about computer graphics that was life changing. I got interested in the topic, and started working through some books. I was over my head, but started looking around for other resources online. Through those resources I was able to learn and create a ray tracer!
I would later create a ray tracer as coursework for CS455 and CS655 at BYU.
In a nutshell, ray tracing is focused on figuring out how to take a 3D scene and turn it into a 2D image. We start with a camera at some point in that 3D scene, and from the camera, we shoot rays into the scene. For each pixel in the resulting image, we send out a ray into the scene. The rays will either hit an object in the scene, or miss everything.
One a ray hits an object, we need to figure out what color that point should be. To figure that out, we will see what color the object is, if it is shiny or not, or if it is transparent. If the object is shiny, we will send off a new ray to figure out what we should see in the reflection of the surface. For all hits, we send off a shadow ray, or a ray to see if the point we’ve hit is directly lit by a light source. We combine all of those rays and sub-rays together to find the color for one pixel in the camera.
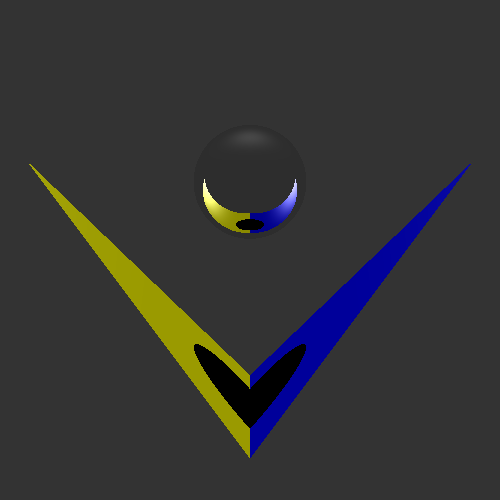
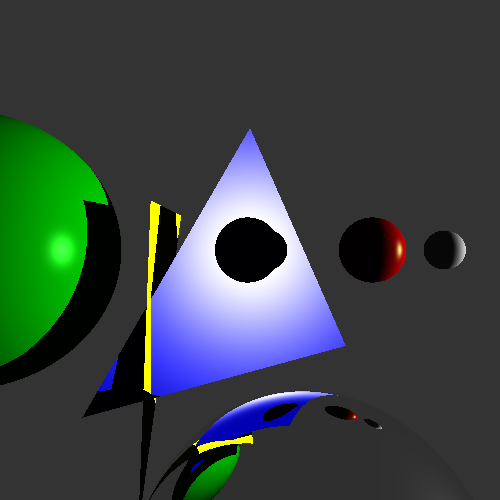
You’ll usually see lots of spheres in resources focused on learning and creating ray-tracers. I feel like the sharp triangles contrast nicely with the perfect spheres (inner art critic emerging).
Small Improvements
Here are some improvements (or added complexity) that I’ve made to the base ray tracing setup.
Multithreading
Ray tracing is an “embarrassingly parallel” problem where we can easily divide work across multiple different processing units (threads, processors, machines). The problem we’re trying to solve is to figure out the color to a pixel in an image. If each thread had a group of pixels, they don’t need to talk to one another to figure out the final result.
By using C++17’s execution policies and C++20’s iota, I was able to create a parallel for-each loop as shown in the following code.
const auto rowRange = std::ranges::views::iota(0, renderingOptions.imageHeight);
std::for_each(std::execution::par, rowRange.begin(), rowRange.end(), [&](int row)
{
    // ... computing pixel color on a per-row basis
}
Here I’m having each thread work on a row of pixels at a time. Another improvement would be to have threads take a range of rows at a time, to reduce the work needed to manage parallel work.
Distributed
As part of this, I followed the idea of Distributed Ray Tracing2. The main idea is that you perturb rays that you send out according to some analytic formula. In my implementation, I perturbed the ray by some random vector in a unit sphere centered on the ray’s origin.
What I haven’t done yet is the more modern interpretation of the word “distributed”, a.k.a. across different machines. I have worked with OpenMPI3 previously, so that would be a fun exercise to get a few machines together and create some pictures.
Linear Algebra Approach to Ray-Sphere intersections
Do you like quadratic equations? Something that I haven’t liked about learning ray tracing is that as students we start in fun linear algebra land. We’re thinking of rays shooting across space, then we are presented with the quadratic formula. I really like the linear algebra approach to the ray-sphere intersection. Or in other words, I don’t find the quadratic equation approach intuitive.
Here is a crude whiteboard session of the general process to solve the ray-sphere intersection with some linear algebra:
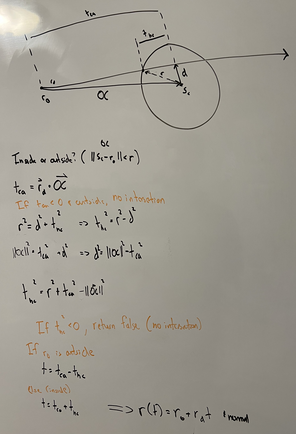
For an in-depth explanation, I’ve found an article by Kyle Halladay 4 that would be helpful. I might do my own one day, but I don’t want to turn this post into one.
Path Tracing
I implemented the path tracing as coursework during CS655, or advanced computer graphics at BYU. Path tracing was introduced in the paper The rendering equation by James Kajiya5.
The rendering equation is way to account for all light interactions in an environment. Path tracing is one proposed way to solve the rendering equation, or to try to account for all light interactions. It is an extension to ray tracing where we randomly sample light paths (think reflection, refraction, and shadow rays). This means that we only choose one type of ray to generate and follow, as opposed to ray tracing where we generate and follow all possible rays.
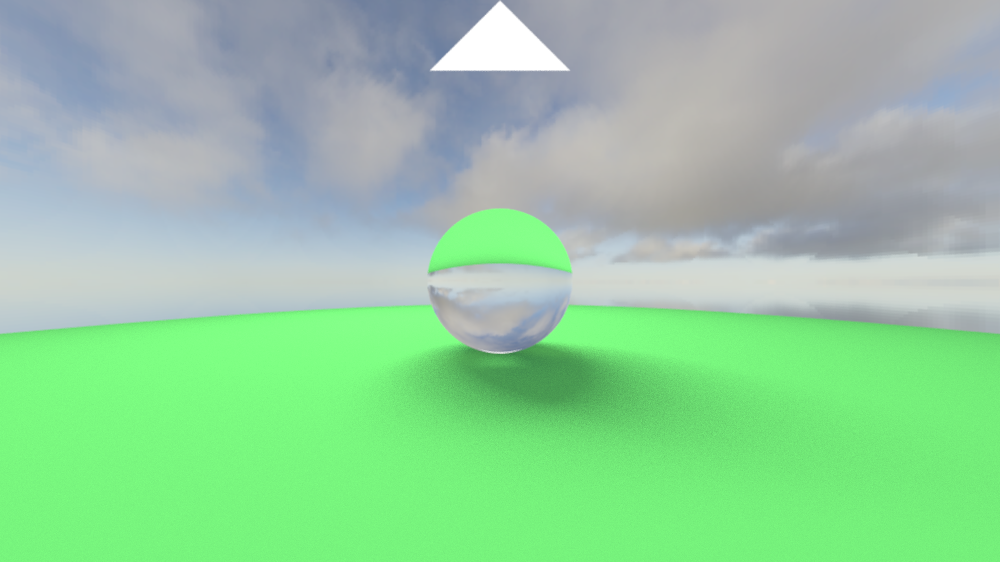
Path tracing introduces a new type of reflection, diffuse reflection! With this we’re able to get caustics in the scene. Caustics are light rays that go through a transparent object and are grouped together.
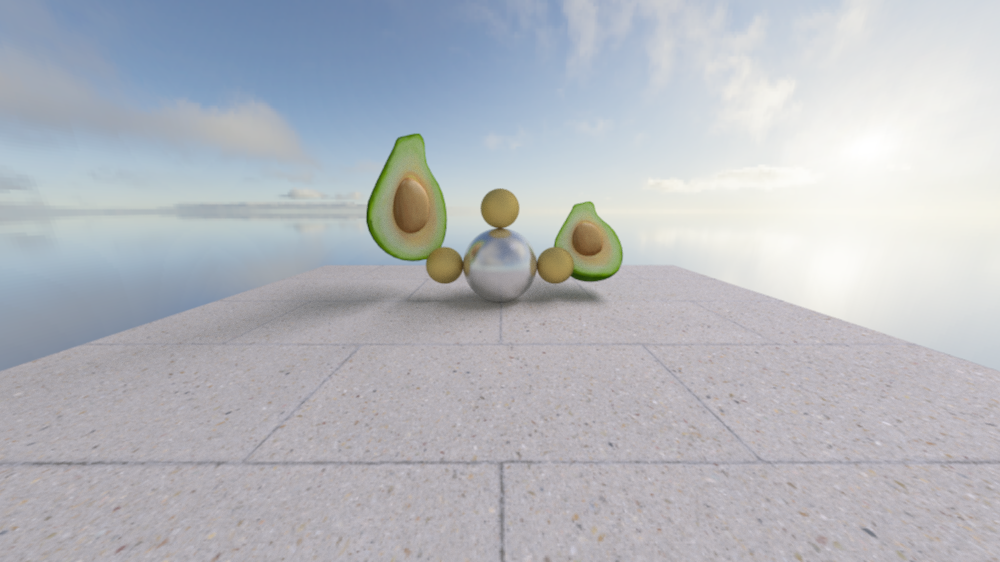
This render is of the same scene in the demo section, with the camera places away from the scene. My initial intentions were to make an avocado family picture.
Image Based Lighting
The basics of image based lighting is that instead of returning some background color if your ray misses geometry, you would instead sample a cube map with a texture of an environment. That is how you’re able to see the sky in the reflection of the center sphere in Render 4.
About the project
Was written in C++ using CMake as the build system generator. I wanted to use this on my Windows desktop, as well as my Macbook Air, so I ran into some cross platform problems.
Custom Scene Format
Every image in this post was created from a custom scene format. Here is a sample for the avocado scene in the demo image:
Filename: out/EndScene.png
ImageWidth: 1000
SamplesPerPixel: 100
MaximumRecursiveDepth: 50
AspectRatioWidth: 16
AspectRatioHeight: 9
RenderMethod: PathTracing

# ... more configs with lights, materials, and shapes
You can specify shapes such as primitives (spheres or triangles) or load in a mesh. You assign materials to each shape, and position it in world space. You can also specify directional or area lights.
I use yaml-cpp to read in this file at runtime, and create the scene in the renderer.
Libraries Used and Why
Outputs png images using lodepng.
I also use indicators to visualize the render’s progress through command line output. Gives a breakdown of progress, elapsed time, and expected remaining time. Handy to see this visual:
[======================>                     ] 51% [09m:22s<08m:51s] Rendering ...
[======================>                     ] 51% [09m:26s<08m:51s] Rendering ...
[======================>                     ] 51% [09m:29s<08m:50s] Rendering ...
[======================>                     ] 51% [09m:33s<08m:50s] Rendering ...
[=======================>                    ] 52% [09m:36s<08m:49s] Rendering ...
Future Work
Bounding volume hierarchies to speed up ray-triangle tests. Currently, everything is wrapped in an AABB to simpler tests, but with higher poly models that gets out of hand quickly.
Animations. I would like to add some form of skeletal animation to a ray tracer. I’ve done that in a separate OpenGL project, but would like to apply that here as well. It could still output frames, and those frames could be composed to a video. With having movement in the scene, I would also want to add motion blurring.
BRDFs. The materials used in the are based on a simplistic reflectance model, I guess as opposed to physically based rendering. I’d look to consume these from standard tools, and not create another custom format.
Conclusion
I really enjoyed first learning about ray tracing, and how we can apply linear algebra to create cool and interesting pictures. During my undergrad, I took a linear algebra course and really enjoyed it. I felt like it was the first math class that I took where I really understood the application of what we were learning about. Once I started learning about computer graphics, I was sold.
Thanks for reading!